
Feather hair extensions are a popular way to add a unique, colorful, and bohemian touch to your hairstyle. They allow you to experiment with different colors, patterns, and textures without permanently changing your natural hair. Whether you want to create a subtle accent or a bold statement look, feather extensions are an easy and creative styling option.
If you are wondering how to install feather hair extensions at home, the process is relatively simple with the right tools and attachment method. In this guide, we will explain everything you need to know, including preparation, installation steps, attachment methods, maintenance tips, and common mistakes to avoid.
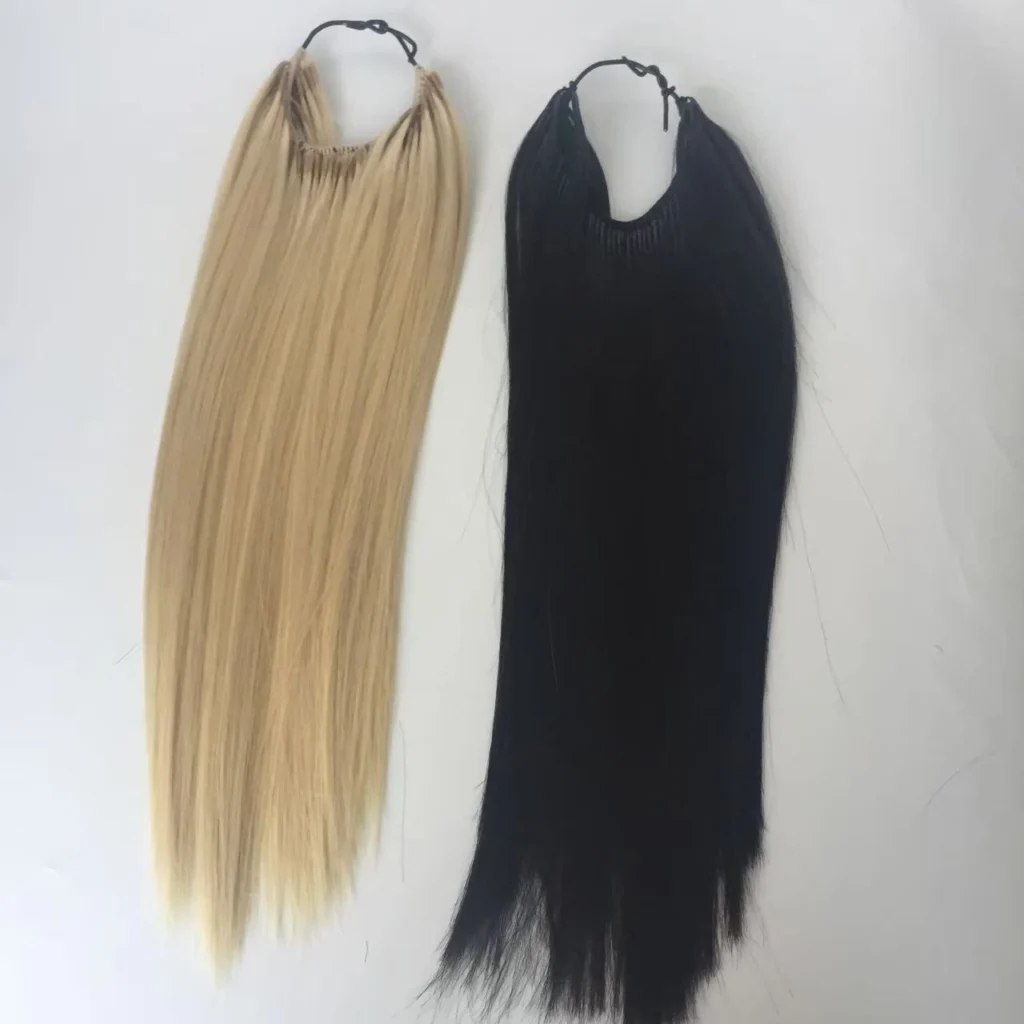
This picture shows a hand holding two straight drawstring ponytail hair extensions, one pale blonde and the other black.
Feather hair extensions are decorative hair accessories made from natural feathers or specially prepared feather strands. They are designed to be attached to small sections of natural hair, creating a lightweight and eye-catching effect.
Unlike traditional human hair extensions, feather extensions are mainly used for decoration rather than adding hair length or volume.
They are available in various colors, lengths, and designs, making them suitable for everyday hairstyles, festivals, parties, vacations, and special occasions.
Before installation, prepare all the necessary tools to make the process easier and more comfortable.
Choosing the correct bead size is important. The bead should hold the natural hair and feather securely without creating excessive tension.
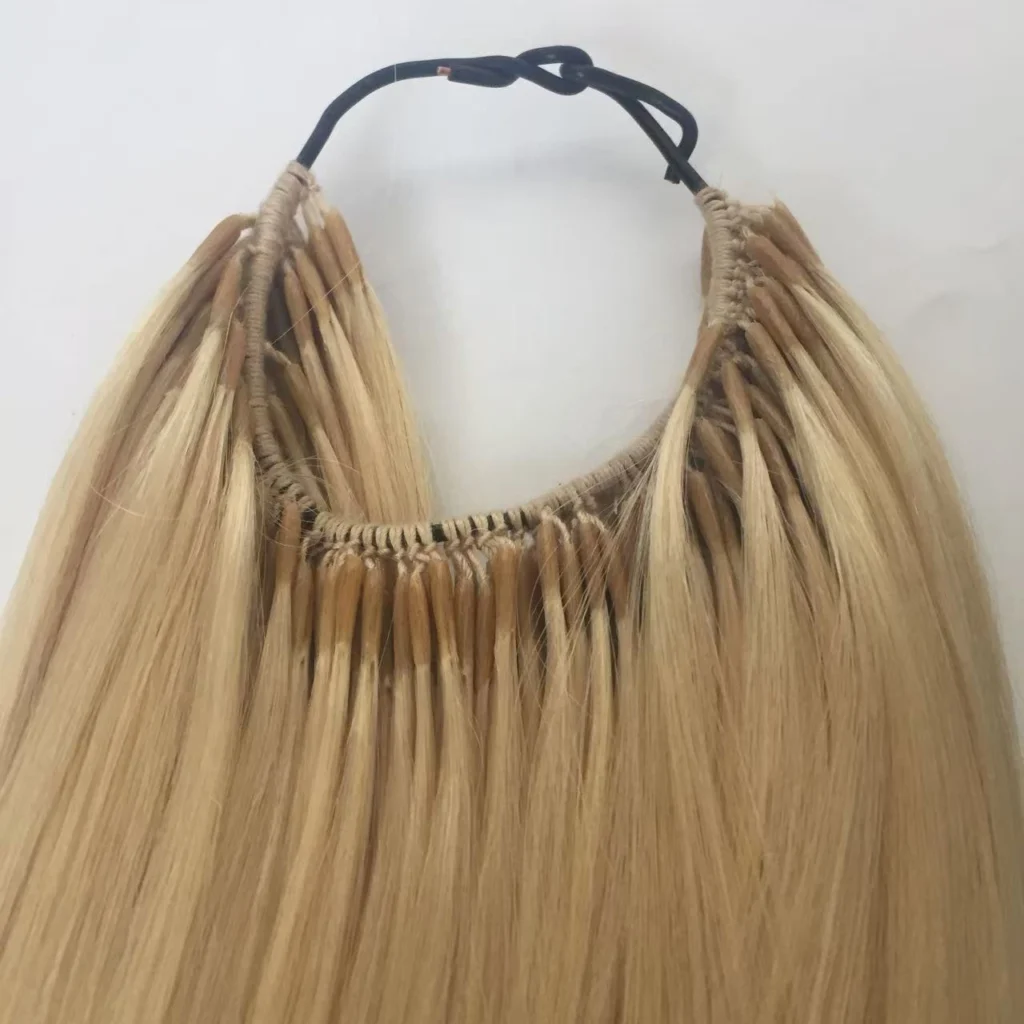
This picture shows a close-up of a pale blonde drawstring ponytail hair extension with neatly hand-knotted roots and an adjustable elastic band.
Start with clean, completely dry hair. Remove tangles using a suitable hairbrush or wide-tooth comb. Avoid applying heavy oils, conditioners, or styling products near the roots because they may make the attachment less secure.
Decide where you want to place your feather extensions. Popular locations include the sides of the head, underneath the top layer of hair, and near the back.
For a natural appearance, choose areas where the feathers can blend with your hairstyle while remaining visible.
Avoid placing extensions too close to the hairline or in areas where they may cause discomfort when sleeping.
Use a sectioning comb to separate a small strand of natural hair. The section should be appropriate for the size of the micro bead.
Make sure the selected strand is strong enough to support the attachment. Avoid using extremely thin, damaged, or fragile hair sections.
Place a micro bead onto the pulling hook or loop tool. Carefully pull the selected strand of natural hair through the bead.
Slide the bead toward the roots, leaving enough space between the bead and scalp to prevent discomfort.
Take your feather extension and position its attachment end alongside the natural hair strand.
Carefully place the feather into the bead according to the extension manufacturer’s instructions. Check that the feather is facing the correct direction and hangs naturally.
Use hair extension pliers to gently close the micro bead. Apply even pressure to secure the attachment without crushing it excessively.
The bead should hold the feather firmly but should not pull tightly on your natural hair.
After installation, gently move your hair to check whether the feather extension stays in place.
Use a mirror to examine the front, sides, and back. Make sure the attachment is comfortable and the feather blends naturally with your hairstyle.
You can leave your hair straight, curl it, or create loose waves for a more bohemian appearance, provided the feather material is suitable for the styling method.
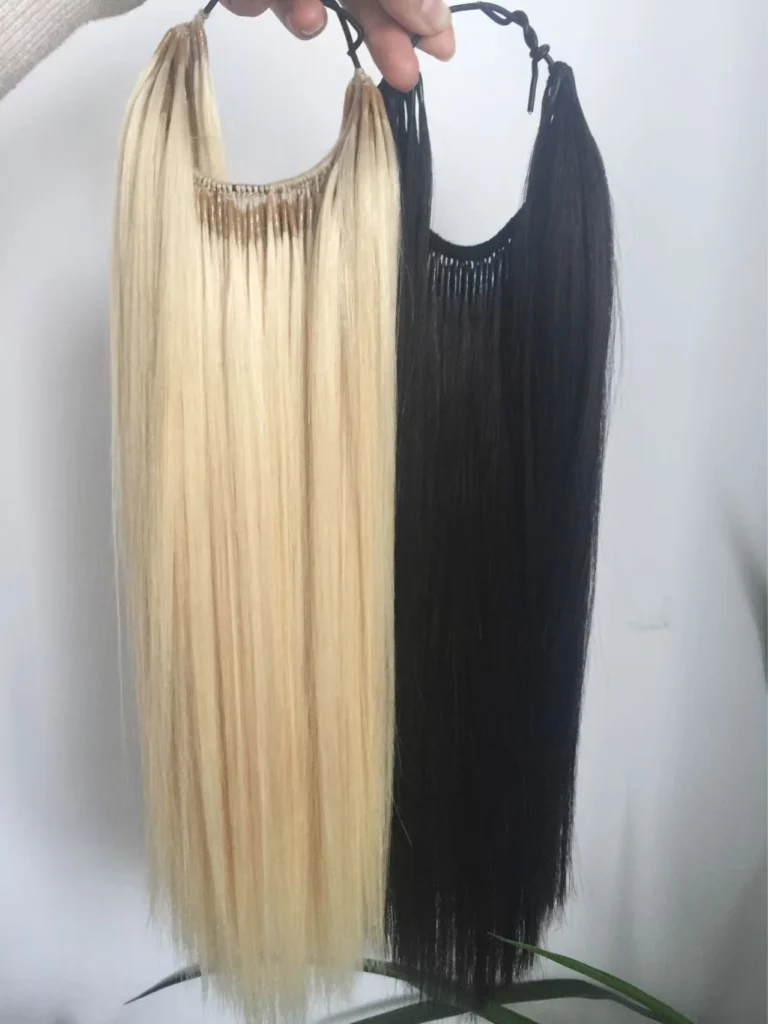
his picture shows natural black feather extensions made of smooth, silky real human hair.
| Installation Detail | Recommended Information |
|---|---|
| Attachment method | Micro bead or silicone-lined bead |
| Installation time | Approximately 5–15 minutes per extension |
| Hair preparation | Clean, dry, detangled hair |
| Attachment position | Sides, underneath layers, or back |
| Required tools | Pliers, beads, hook tool, comb |
| Styling options | Straight, wavy, or braided hairstyles |
| Maintenance | Regular attachment checks |
| Removal method | Open the bead with suitable pliers |
The figures are general estimates. Actual installation time depends on the attachment design, hair thickness, and personal experience.
There are several ways to attach feather extensions, depending on the product design.
This is one of the most common methods. A small bead holds the feather extension together with a section of natural hair. It does not require glue or heat, making it a convenient option for temporary decorative styling.
Silicone-lined beads have a soft inner lining that helps protect natural hair and improve grip. They can be a good option for people who want a more secure attachment with less direct friction.
Clip-in feather extensions are designed for people who prefer temporary styling. Simply open the small hair clip, attach it to a section of natural hair, and close it securely.
This method is particularly convenient because the extensions can be removed and reused without a complicated installation process.
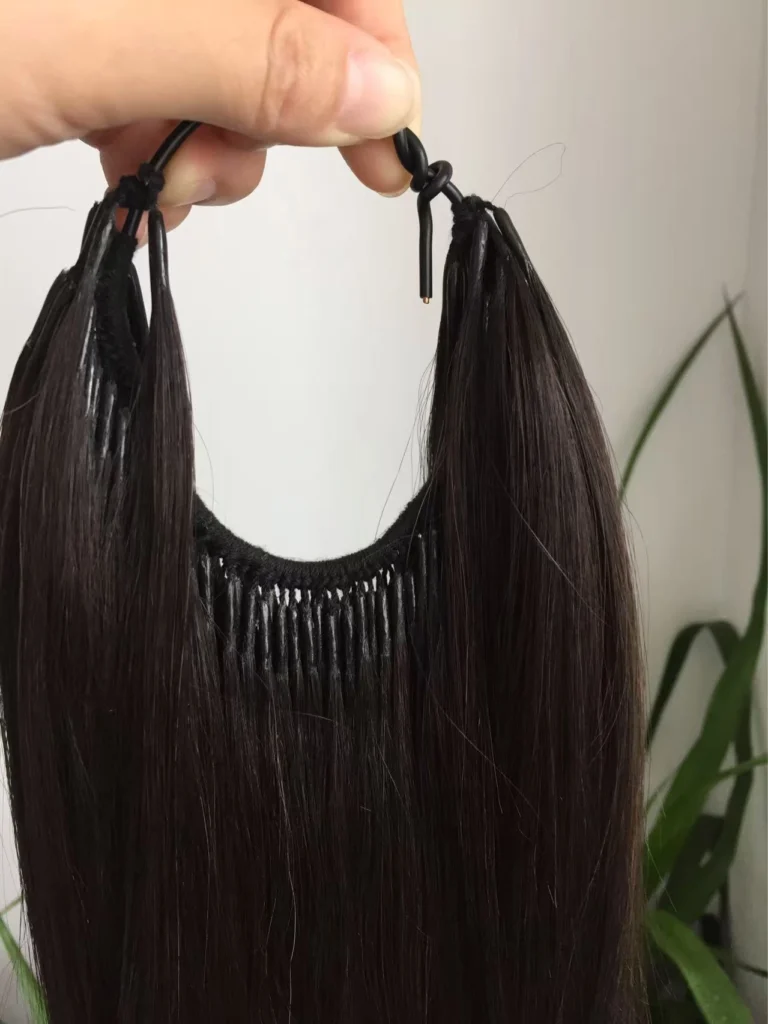
This picture shows premium black feather tip hair extensions with neatly crafted glue tips and an adjustable drawstring.
The secret to achieving a natural look is choosing the right placement, color, and number of extensions.
For a subtle style, choose one or two feathers. For a more colorful festival look, several feathers in different shades can create a more noticeable effect.
Proper maintenance helps keep feather extensions attractive and reduces unnecessary stress on natural hair.
Washing: Wash your hair gently with mild shampoo. Avoid rubbing or pulling directly on the attachment area.
Brushing: Start brushing from the ends and work your way upward. Hold the hair near the attachment point to reduce tension.
Heat Styling: Check the manufacturer’s heat-resistance instructions before using curling irons or straighteners. Natural feathers and synthetic decorative materials may react differently to heat.
Sleeping: Avoid sleeping with wet hair. A loose braid can help reduce tangling.
Regular Inspection: Check the beads and attachment points regularly. If an extension becomes loose, have it adjusted or removed properly.
| Common Mistake | How to Avoid It |
|---|---|
| Using too much natural hair | Select a small, suitable hair section |
| Placing beads too close to the scalp | Leave comfortable root clearance |
| Tightening beads excessively | Apply gentle, even pressure |
| Installing extensions on weak hair | Choose healthy, strong strands |
| Using unsuitable styling heat | Check material heat resistance |
| Pulling extensions out directly | Open the bead or clip properly |
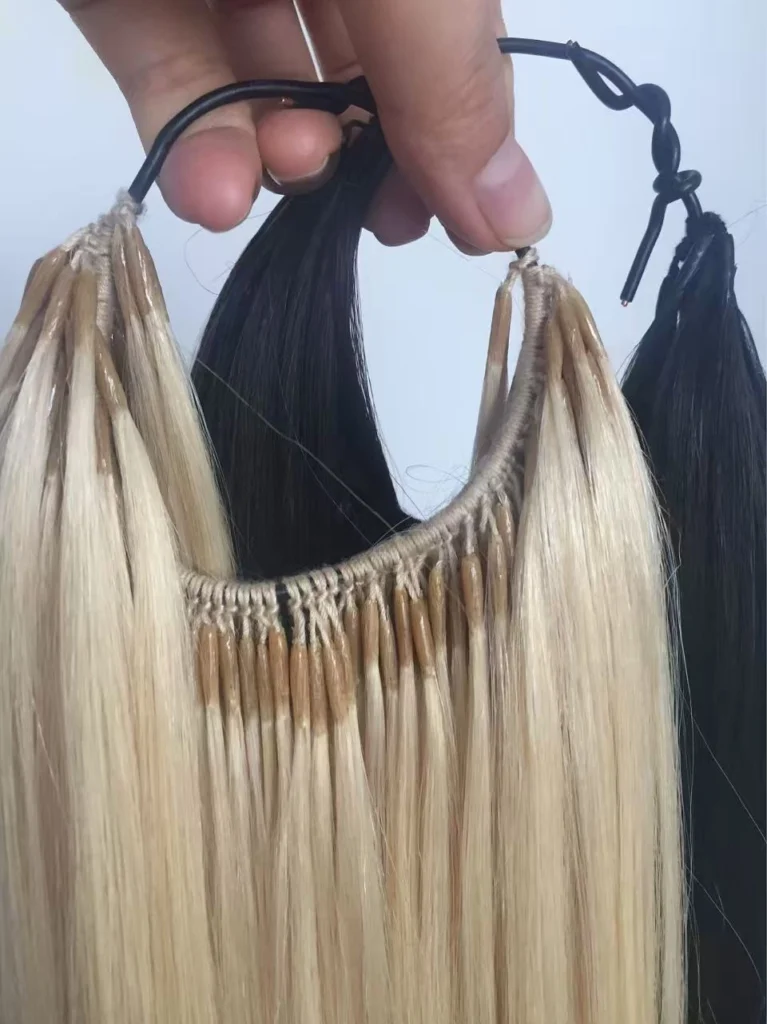
This picture shows two drawstring ponytail hair extensions held in a hand.
Learning how to install feather hair extensions is a simple way to experiment with different hairstyles and add a unique decorative element to your natural hair. By preparing your hair properly, selecting the right attachment method, and following the correct installation steps, you can achieve a beautiful and comfortable result.
Whether you choose micro bead, silicone-lined bead, or clip-in feather extensions, proper installation and maintenance are essential for keeping your hairstyle looking attractive. Choose high-quality feather extensions, avoid excessive tension, and enjoy creating your own personalized look.
Dont hesitate to Contact EMEDA Hair Factory:
 WhatsApp: +8619953208601
Email: sales10@emedahair.com