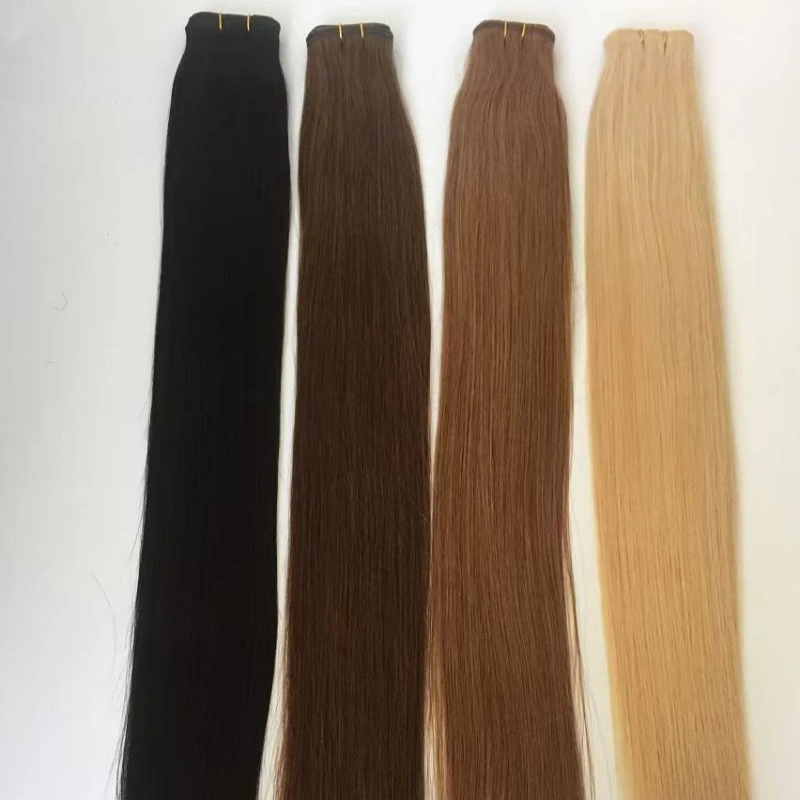
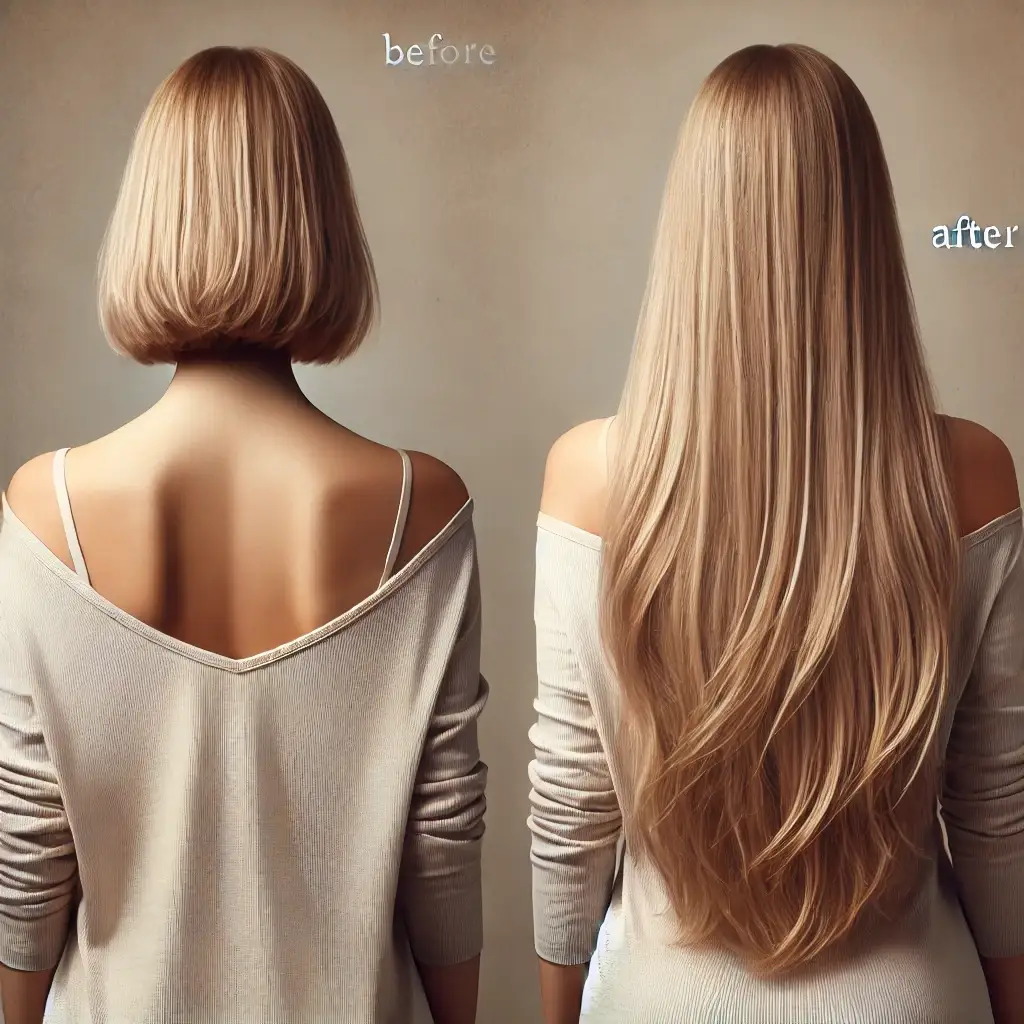
Cutting hair extensions into layers is one of the most effective ways to create a natural, voluminous, and flattering style. Layered hair extensions can transform your look by adding texture, movement, and depth to your hair. Whether you’re a professional stylist or a DIY enthusiast, understanding the best techniques and approaches is essential for achieving flawless results. In this comprehensive guide, we’ll dive into the step-by-step process for cutting hair extensions into layers. We’ll also look at how different extension types may require different techniques.

Hair extensions offer a quick way to add length, volume, and texture, but without proper layering, they can sometimes look out of place. Layering hair extensions is essential for several reasons:
Research from the International Hair Extension Association (IHEA) shows that 70% of stylists report achieving a more natural-looking blend with layered extensions compared to one-length extensions.
Layering hair extensions involves cutting the hair at different lengths to create dimension, which mimics the way natural hair layers form over time. There’s more to layering than just trimming random sections — it’s about structure and balance. Here’s why it works:
Before starting the layering process, make sure you have the right tools on hand. The quality of your tools can make a big difference in the outcome. Here’s a list of the essential tools for cutting hair extensions:
Proper preparation is key to achieving a professional look. Here’s how you can prepare your extensions for cutting:
Follow this detailed step-by-step process to cut hair extensions into layers:
Step 1: Establish the First Layer
Start by cutting the bottom layer of the extension. This should be your longest layer, as it will serve as the foundation for the others. Comb the hair and cut it in a straight line or at a slight angle.
Step 2: Section the Hair
Use clips to secure the hair in sections. You can work with horizontal or vertical sections depending on the style you’re aiming for. For more controlled layering, smaller sections are better.
Step 3: Cut the Subsequent Layers
For each new section, trim the hair slightly shorter than the previous section. The key is to cut at an angle (usually 45 degrees), which creates soft, blended layers. You can use the “point cutting” technique to soften the ends, avoiding blunt cuts.
Step 4: Blend the Layers
Once all layers are cut, blend the layers with your shears. Hold the shears vertically and snip into the hair to remove any harsh lines and ensure that the layers flow smoothly.
Step 5: Style and Evaluate
After cutting, style the extensions with a blow dryer or flat iron. This will allow you to see how the layers fall naturally. You can adjust the layers if necessary by trimming any uneven areas.

There are several techniques you can use to layer hair extensions. Here’s a breakdown of the most popular methods:
Layering hair extensions may seem straightforward, but there are common mistakes that can lead to uneven or undesirable results. Here’s what to avoid:
Different hair extensions require different approaches when cutting into layers. Here’s a guide to help you understand the best techniques for each extension type:
| Extension Type | Recommended Layering Technique | Special Notes |
|---|---|---|
| Clip-in Extensions | Point cutting or slide cutting | Always secure extensions properly to avoid slipping. |
| Tape-in Extensions | Point cutting and slide cutting | Be cautious not to cut the tape; blend with natural hair. |
| Fusion/Pre-bonded | Gradual layering from bottom to top | Avoid cutting near the bond to prevent damage. |
| Sew-in Wefts | Horizontal sectioning for layers | Work with smaller sections for a smoother blend. |
Research data from the National Hairdressing Academy shows that layered hair extensions blend 30% better into natural hair than non-layered extensions. Additionally, a survey from Modern Salon found that 65% of professional hairstylists prefer layering as it provides more flexibility in styling, creating both volume and movement.
| Layering Technique | Percentage of Stylist Preference | Blending Efficiency |
|---|---|---|
| Point Cutting | 60% | 85% |
| Slide Cutting | 25% | 80% |
| Texturizing Shears | 15% | 75% |
Layering hair extensions is an essential technique for creating a natural, voluminous, and dynamic look. Whether you are working with clip-ins, tape-ins, or sew-ins, the process can elevate the style and help the extensions blend seamlessly with natural hair. With the right tools, techniques, and a little practice, you can master layering and create stunning, customized hairstyles for yourself or clients.
Remember, the key to a perfect layered look is patience, precision, and blending. Keep these tips in mind, and enjoy experimenting with layered hair extensions for a more fashionable and flattering style!

At Qingdao Emeda Arts & Crafts Co., Ltd., we have been at the forefront of the hair industry since 2013. With a commitment to creating top-quality products and a passion for making hair trends more popular and accessible, we have earned a reputation as one of the leading hair manufacturers in China. Our Emeda brand is known for offering high-quality, customizable hair solutions that cater to the diverse hairstyling needs of both men and women.
We specialize in producing a wide range of premium hair products, including:
All Emeda products are crafted from 100% human hair, processed through over 56 meticulous steps to ensure that each strand meets the highest standards of quality, texture, and durability.
Whether you’re looking for voluminous curls, sleek straight hair, trendy long locks, or even custom colors and textures, Emeda Hair provides personalized hair solutions that help you achieve the look you desire. We also offer custom products to meet your unique needs, ensuring that your hair extensions, wigs, or toupees are exactly what you’ve envisioned.
Join the countless satisfied clients around the world who trust Emeda Hair for all their hair product needs. Contact us today to explore our product range and experience the difference in quality and style!
Visit our website or reach out directly to our customer service team to learn more about how Emeda Hair can help you achieve the perfect look.
New customization and stock clearance
WhatsApp us