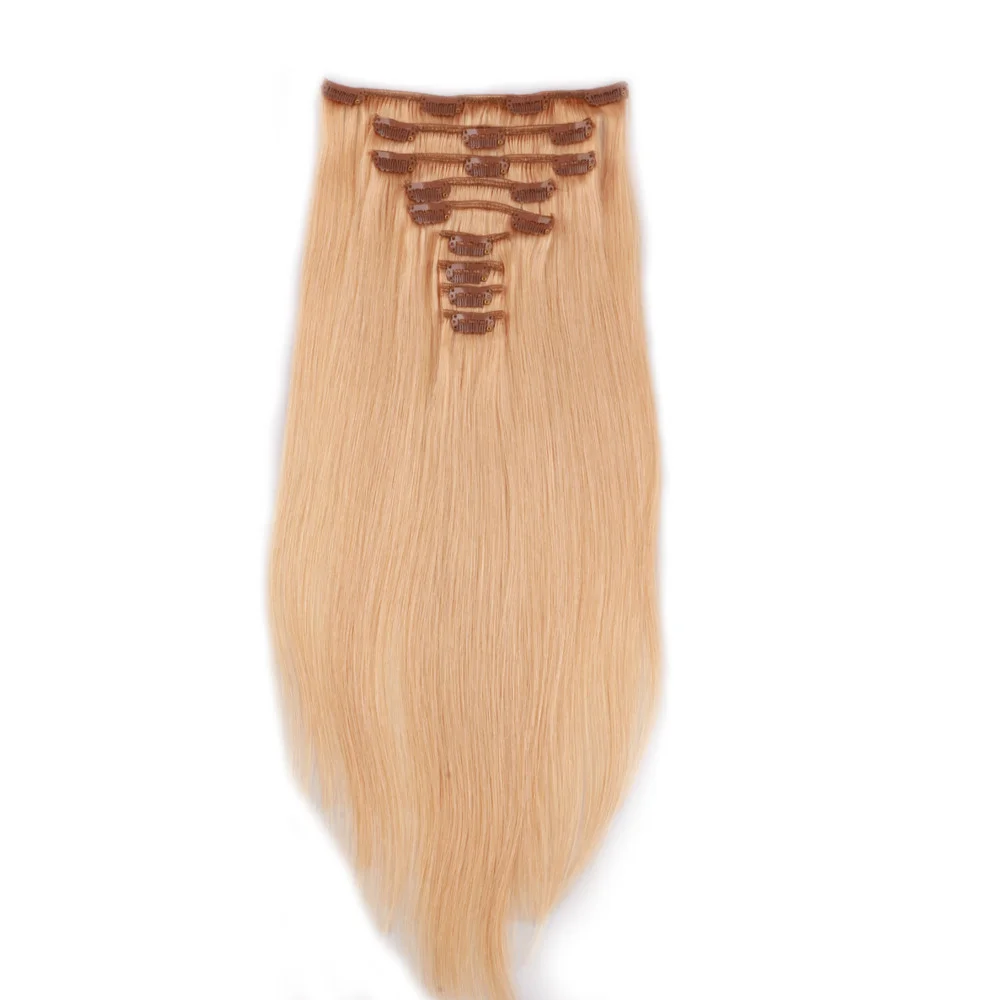
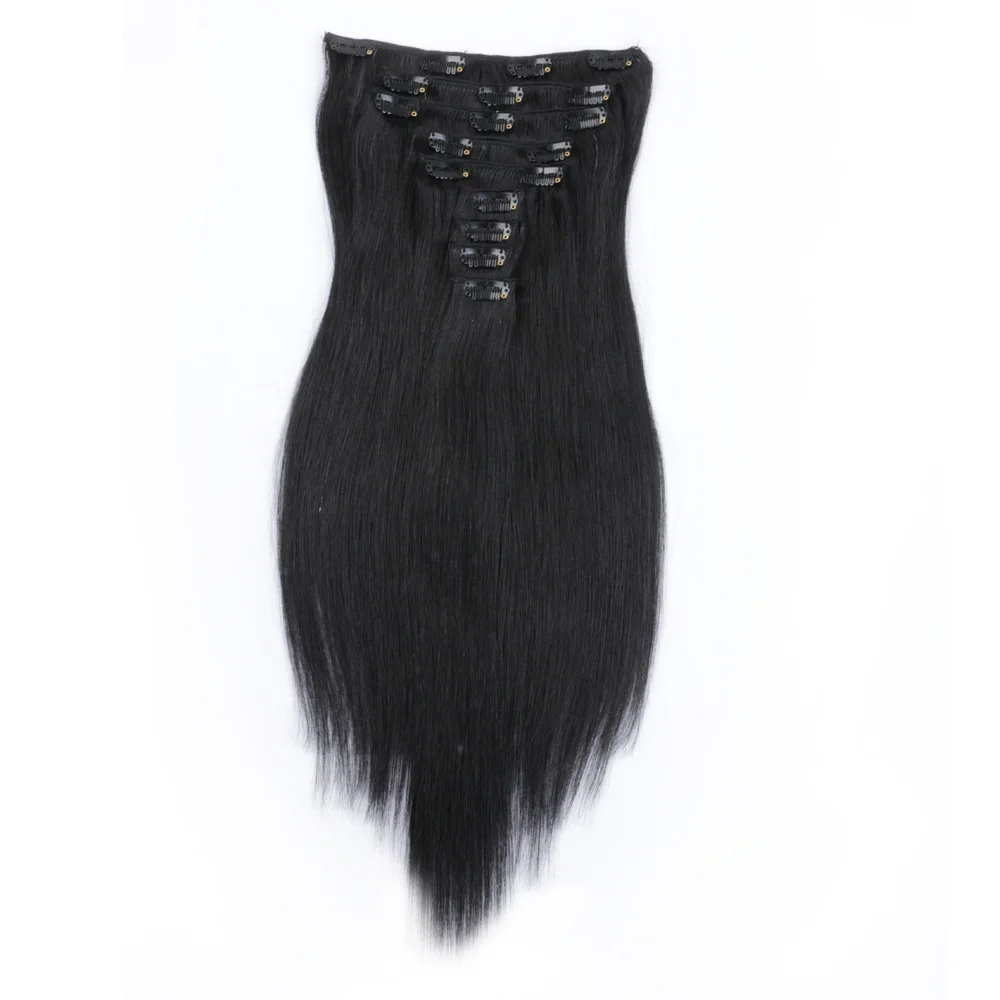
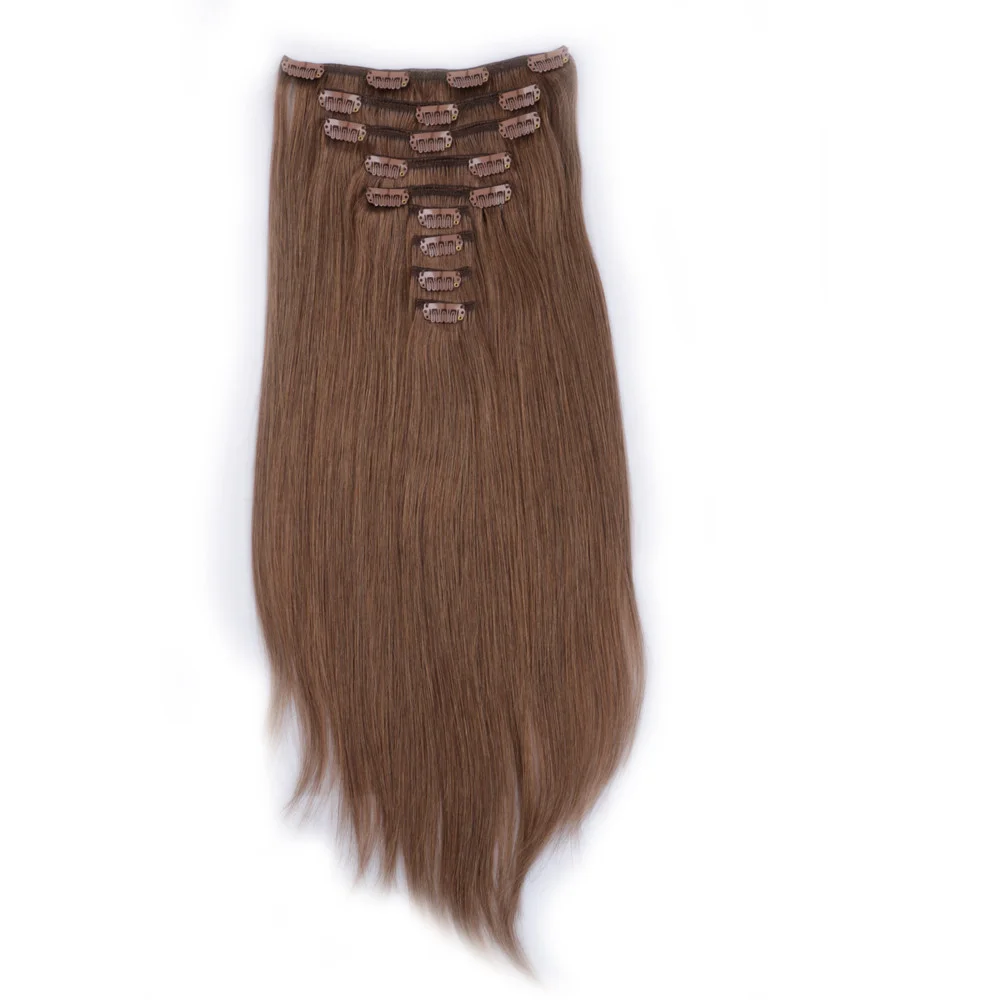
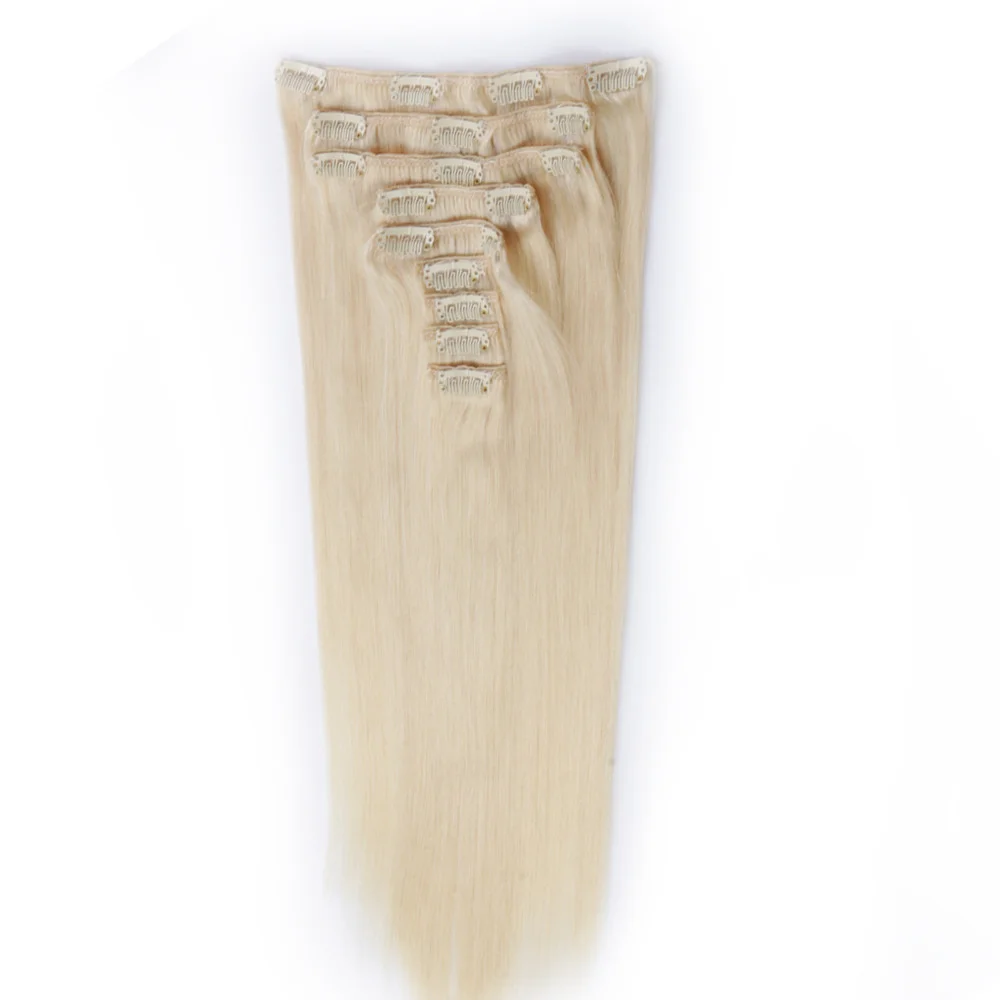
Clip-in hair extensions are an excellent solution for those looking to add volume, length, or a touch of glamour to their hair without the commitment of permanent extensions. For individuals with thin hair, clip-in extensions can work wonders in transforming their look. However, applying them correctly is crucial to avoid damaging delicate hair and to ensure a natural appearance. This article will guide you through the step-by-step process of putting in clip-in hair extensions for thin hair, offering tips and tricks to achieve a seamless blend and long-lasting hold.
Clip-in hair extensions are wefts of hair that can be easily attached to your natural hair using small, discreet clips. These extensions come in various lengths, colors, and textures, making it easy to find a set that matches your natural hair. For thin hair, it is essential to choose lightweight extensions to avoid putting too much stress on your hair and scalp.

Selecting the right type of extensions is the first step. Look for high-quality, lightweight extensions that match your hair color and texture. Human hair extensions are generally recommended as they blend more naturally and can be styled just like your own hair. Avoid heavy extensions, as they can pull on your thin hair and cause damage.
Before you start, make sure you have the following tools on hand:
Wash and dry your hair thoroughly before applying the extensions. Clean hair will help the clips stay in place. Avoid using heavy conditioners or styling products that can make your hair slippery. A bit of texturizing spray or dry shampoo can add grip, making it easier for the extensions to stay in place.
Step 1: Section Your Hair
Start by sectioning your hair. Using a tail comb, create a horizontal parting about one inch above the nape of your neck. Clip the rest of your hair up and out of the way. This sectioning will create a base for the first row of extensions.
Step 2: Tease the Roots
For thin hair, teasing the roots can provide a better grip for the clips. Use the tail comb to gently backcomb the roots of the sectioned hair. This will give the clips something to hold onto, preventing them from slipping.
Step 3: Apply the First Weft
Take the smallest weft of extensions and open the clips. Starting from the middle, clip the weft onto the teased section, then secure the sides. Ensure the weft lies flat against your scalp and feels secure. If you feel any pulling or discomfort, reposition the weft.
Step 4: Repeat the Process
Release another inch of hair from the sectioned portion and create another horizontal parting above the first weft. Repeat the teasing and clipping process with a slightly larger weft. Continue this process, working your way up your head and using progressively larger wefts.
Step 5: Blend the Extensions
Once all the wefts are in place, release the remaining hair. Use a brush or wide-tooth comb to gently blend your natural hair with the extensions. If necessary, use a flat iron or curling iron to style the hair for a seamless blend. Be careful not to tug too hard on the extensions while styling.
Step 6: Check and Adjust
Use a mirror to check the back of your head and ensure the extensions are hidden and blend naturally with your hair. Make any necessary adjustments to the placement of the wefts. If any clips feel loose, re-secure them to ensure they stay in place throughout the day.
Clip-in hair extensions can be safe for thin hair when applied and maintained correctly. However, several factors need to be considered to ensure they don’t cause damage.
Choosing the right type of extensions is crucial for the safety of your thin hair. Lightweight, high-quality human hair extensions are generally recommended. Heavy extensions can put undue stress on your hair and scalp, leading to breakage or hair loss.
Example: A woman with thin hair who uses heavy synthetic extensions might experience traction alopecia, a condition caused by excessive pulling on the hair follicles. In contrast, using lightweight human hair extensions can prevent this issue and provide a more natural look.
Applying clip-in extensions correctly is essential to avoid damaging your natural hair. Here are some key steps:
Data: According to a study by the International Journal of Trichology, improper application of hair extensions can lead to hair loss and scalp problems. The study emphasizes the importance of correct placement and the use of lightweight extensions for those with thin hair.
Proper maintenance of both your natural hair and the extensions is vital. Here are some tips:
Example: Regular maintenance helped a user with thin hair retain the quality of her clip-in extensions for over a year, whereas another user who neglected proper care experienced matting and tangling within a few months.
Seeking advice from a professional hairstylist can be beneficial, especially if you’re new to using extensions. They can help you choose the right type, apply them correctly, and provide maintenance tips.
Data: A survey by the Professional Beauty Association found that 70% of women who consulted a hairstylist before using extensions reported higher satisfaction and less hair damage compared to those who applied them on their own.
The duration you can wear clip-in hair extensions daily depends on several factors, including the health of your natural hair, the type of extensions, and how they are applied.
For those with thin hair, it is generally recommended to wear clip-in hair extensions for no more than 8-12 hours a day. This timeframe allows your scalp to rest and reduces the risk of damage.
Example: A person wearing extensions for 10 hours a day reported no adverse effects, while another wearing them for over 16 hours experienced scalp irritation and hair breakage.
It is crucial to remove clip-in extensions before going to bed. Sleeping with extensions can cause tangling, matting, and unnecessary stress on your hair and scalp.
Data: According to a study by the American Academy of Dermatology, leaving clip-in extensions in overnight can lead to hair damage and increased hair loss, especially in individuals with thin or fragile hair.
While clip-in extensions are versatile and convenient, they are not suitable for all activities. Avoid wearing them during activities that involve excessive sweating, swimming, or heavy physical exertion. Sweat and water can weaken the clips’ grip, causing the extensions to slip or become tangled.
Example: A user reported that wearing clip-in extensions during a gym session led to slipping and discomfort, while removing them before exercise resulted in a better experience and longer-lasting extensions.
Pay attention to the comfort and health of your scalp. If you experience itching, redness, or discomfort, it is advisable to remove the extensions and give your scalp a break.
Data: A study by the National Institutes of Health (NIH) highlighted that prolonged wear of hair extensions without breaks can lead to scalp issues such as folliculitis, an inflammation of the hair follicles.
If you are new to clip-in extensions, start by wearing them for shorter periods and gradually increase the wear time as your scalp becomes accustomed to them. This approach allows you to monitor how your hair and scalp respond and adjust accordingly.
Example: A first-time user started with 4-hour wear sessions and gradually increased to 8 hours over a month. This gradual increase helped her scalp adjust without experiencing any discomfort or damage.
Choosing the right clip-in hair extensions for thin hair involves considering several factors such as weight, quality, color, and length. Making the right choice can enhance your appearance without causing damage.
For thin hair, lightweight extensions are essential to prevent stress on your natural hair and scalp. Look for extensions with a lower density and fewer grams per set.
Example: A woman with thin hair opted for a 100-gram set of extensions and found them comfortable and easy to wear. In contrast, another user chose a 200-gram set and experienced pulling and discomfort.
Data: The Hair Extensions Magazine suggests that individuals with thin hair should use extensions weighing between 70-120 grams to avoid undue stress on their natural hair.
Human hair extensions are generally recommended over synthetic ones for their natural appearance and versatility. Remy human hair, which is collected in a way that preserves the hair cuticle, is considered the highest quality.
Example: A user with thin hair found that Remy human hair extensions blended seamlessly and allowed her to style them just like her natural hair, whereas synthetic extensions looked less natural and were difficult to style.
Data: According to a report by the International Journal of Cosmetic Science, human hair extensions last longer and provide a more natural look compared to synthetic options.
Selecting the right color is crucial for a natural blend. Many brands offer a wide range of shades and even custom color-matching services. It’s essential to match the extensions not only to your base color but also to any highlights or lowlights.
Example: A user matched her extensions to the light brown base of her hair but overlooked the blonde highlights. As a result, the extensions looked unnatural. After switching to a set with mixed shades, the blend was seamless.
Data: A survey by Hairtrade found that 85% of users achieved a more natural look by selecting extensions with multi-tonal shades rather than a single color.
Consider the length and style of the extensions. For thin hair, shorter to medium lengths (up to 18 inches) are usually more manageable and blend better. Long extensions can be heavy and challenging to blend with thin hair.
Example: A woman with thin hair initially chose 22-inch extensions, which were too heavy and difficult to style. Switching to 16-inch extensions provided a natural look and was easier to manage.
The quality of the clips is also important. Look for silicone-coated clips, which provide a better grip and are gentler on your hair. Poor-quality clips can slip or cause damage.
Example: A user switched from regular metal clips to silicone-coated ones and noticed a significant improvement in comfort and hold.
Data: The Journal of Cosmetic Dermatology reported that silicone-coated clips reduce the risk of hair breakage and provide a more secure hold compared to traditional metal clips.
Research brands and read customer reviews to find reputable products. Brands with positive feedback and a history of producing high-quality extensions are more likely to provide satisfactory results.
Example: A user chose extensions from a well-reviewed brand and was pleased with the quality and customer service. Another user opted for a cheaper, lesser-known brand and encountered issues with shedding and tangling.
Data: A Consumer Reports survey found that 78% of customers who purchased extensions from reputable brands were satisfied with their purchase, compared to 45% who bought from lesser-known brands.
In conclusion, selecting the right clip-in hair extensions for thin hair involves considering weight, quality, color, length, and clip quality. By making informed choices and paying attention to customer reviews and brand reputation, you can achieve a natural, beautiful look without compromising the health of your hair.

Clip-in hair extensions can be styled with heat tools, but there are important precautions to take to ensure the health and longevity of both your natural hair and the extensions.
To style clip-in extensions with heat tools, it’s crucial to choose high-quality, human hair extensions. Synthetic hair extensions, while more affordable, often do not withstand heat well and can melt or become damaged when exposed to styling tools.
Example: A user with thin hair purchased high-quality Remy human hair extensions and was able to curl, straighten, and style them without issues. Another user opted for synthetic extensions and found they became frizzy and unusable after attempting to curl them.
Data: According to a study published in the Journal of Cosmetic Science, human hair extensions maintain their integrity under heat styling, whereas synthetic fibers show significant damage when exposed to temperatures above 160°C (320°F).
Using heat protectant spray is essential when styling both your natural hair and extensions. This product forms a protective barrier that reduces heat damage and helps maintain the health of your hair.
Example: A user who regularly used a heat protectant spray reported minimal damage and longer-lasting extensions, while another who skipped this step experienced dryness and split ends in both her natural hair and extensions.
Data: A study by the International Journal of Trichology found that using heat protectant sprays can reduce hair damage by up to 50%, making it a critical step in the styling process.
When using heat tools on clip-in extensions, always start with the lowest heat setting and gradually increase if necessary. High temperatures can cause significant damage to both the extensions and your natural hair.
Example: A user found that styling her extensions with a flat iron set to 180°C (356°F) provided excellent results without damage. In contrast, using temperatures above 200°C (392°F) led to noticeable dryness and breakage.
Here are some tips for styling clip-in extensions with heat tools:
Example: A user who followed these techniques reported smooth, voluminous curls that lasted all day without any damage. Another user who used high heat and skipped sectioning ended up with uneven curls and some damaged strands.
After using heat tools, it’s important to maintain the health of your extensions and natural hair. Use nourishing hair masks, conditioners, and oils to restore moisture and prevent dryness.
Example: A user applied a deep conditioning mask once a week and used argan oil on her extensions, maintaining their softness and shine. Another user neglected post-styling care and noticed her extensions became brittle over time.
Data: Research by the Journal of Cosmetic Dermatology highlights that regular use of moisturizing products can significantly extend the lifespan of hair extensions, keeping them looking healthy and vibrant.
The frequency of washing clip-in hair extensions depends on how often you wear them and the types of products you use. Proper washing can extend the life of your extensions and keep them looking their best.
Clip-in hair extensions do not need to be washed as frequently as your natural hair. Typically, washing them every 15-20 wears is sufficient, unless they become visibly dirty or oily sooner.
Example: A user who wore her extensions daily washed them every two weeks and found that this routine kept them looking fresh without causing wear and tear. Another user who wore extensions occasionally washed them once a month with similar results.
Here is a step-by-step guide to washing clip-in hair extensions:
Example: A user who followed this washing process maintained the quality and longevity of her extensions for over a year. Another user who used regular shampoo and blow-dried her extensions noticed significant dryness and tangling.
Data: According to the Hair Care Research Institute, using sulfate-free products and air drying can reduce damage to hair extensions by up to 40%.
After washing, it’s important to take additional steps to care for your extensions:
Example: A user who consistently used a leave-in conditioner and stored her extensions properly reported that they remained soft and manageable for a long period. Another user who neglected these steps experienced dryness and frizz.

Yes, clip-in hair extensions can be colored or dyed, but there are important considerations and steps to follow to ensure the best results without damaging the extensions.
When planning to color your clip-in extensions, it is essential to use high-quality, 100% human hair extensions. Synthetic extensions cannot be dyed and will not withstand the coloring process.
Example: A user successfully dyed her Remy human hair extensions to match her new hair color. In contrast, another user who attempted to dye synthetic extensions found that the color did not take, and the extensions became damaged.
Data: The International Journal of Cosmetic Science notes that human hair extensions absorb color similarly to natural hair, whereas synthetic fibers do not react well to chemical dyes.
Before coloring your extensions, prepare them properly:
Example: A user performed a test strand and adjusted her dye mix accordingly, resulting in a perfect color match. Another user skipped this step and ended up with a color that was too dark.
Follow these steps to color your clip-in hair extensions:
Example: A user followed these steps and achieved a vibrant, even color. Another user left the dye on for too long and experienced dryness and fading.
Data: A study by the Journal of the Society of Cosmetic Chemists highlights that ammonia-free dyes are less damaging to hair fibers, making them a better choice for coloring extensions.
After dyeing, take steps to maintain the color and health of your extensions:
Example: A user who used color-safe products and regular conditioning maintained the rich color of her extensions for months. Another user who neglected post-coloring care noticed fading and dryness within a few weeks.
In conclusion, clip-in hair extensions can be colored or dyed effectively when using high-quality human hair extensions and following proper procedures. Careful preparation, the right coloring process, and diligent post-coloring care are essential to achieve and maintain beautiful, vibrant extensions without compromising their quality.

Clip-in hair extensions can be a game-changer for those with thin hair, offering the ability to add volume and length quickly and easily. By following the steps outlined in this guide and taking proper care of your extensions, you can achieve a natural, beautiful look without damaging your hair. Remember to choose the right extensions, prepare your hair properly, and apply the wefts with care. With practice and patience, you’ll master the art of applying clip-in hair extensions and enjoy the added confidence they bring to your style.
If you would like to know more please feel free to contact us.
New customization and stock clearance
WhatsApp us